Introduction
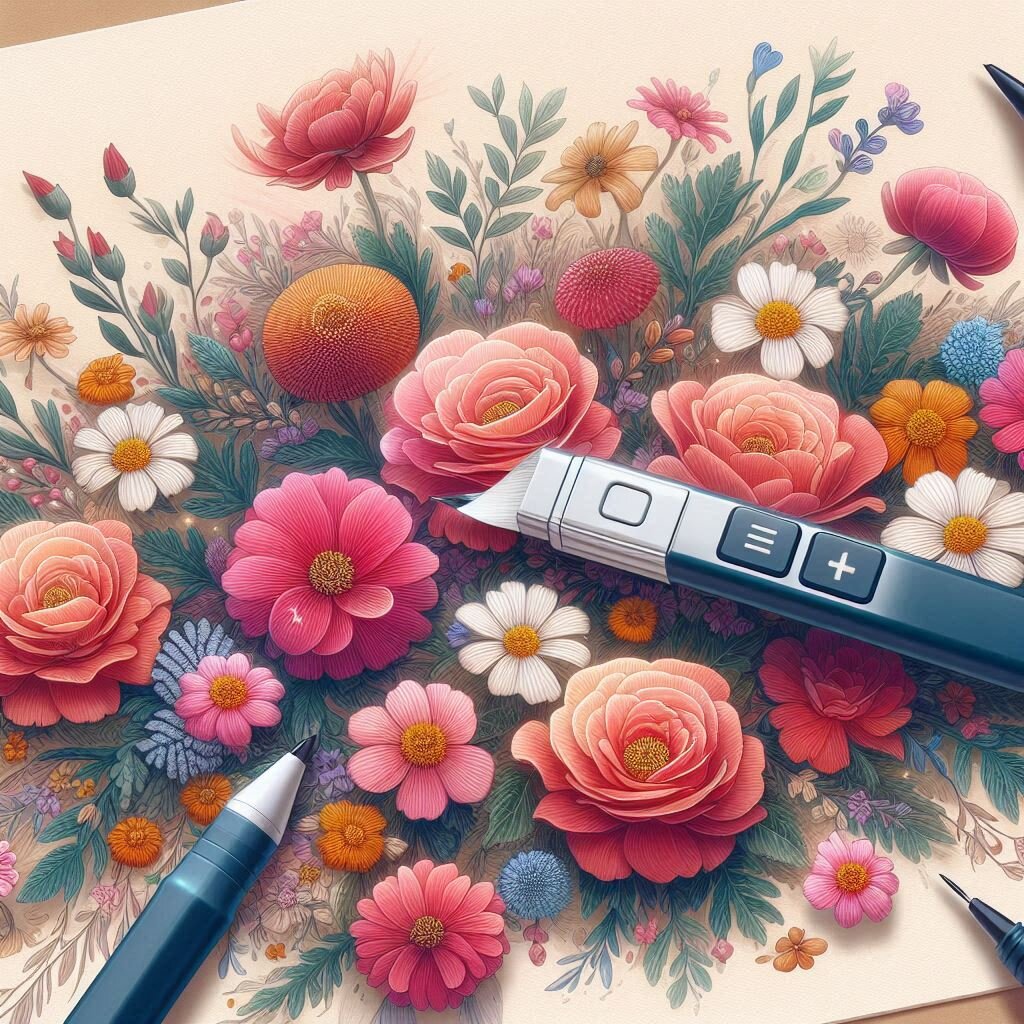
Drawing flowers is a rewarding and relaxing artistic endeavor that allows for creative expression. Whether you are a beginner or an experienced artist, learning how to draw flowers can enhance your skills and add beauty to your artwork. In this guide, we will break down the process into easy steps, covering essential techniques and tips to help you create stunning floral illustrations.
Why Learn to Draw Flowers?
Flowers are one of the most popular subjects in art. Here’s why learning to draw them is beneficial:
- Enhances Observation Skills: Flowers have intricate details that help sharpen your eye for detail.
- Improves Hand Control: Drawing curved lines and delicate petals refines your dexterity.
- Versatile Subject: They can be incorporated into greeting cards, paintings, tattoos, and more.
Getting Started: Essential Materials
Before diving into drawing, gather the right materials to ensure a smooth process.
1. Basic Tools
- Pencils: Start with an HB or 2B pencil for light sketches.
- Eraser: A kneaded eraser works best for delicate corrections.
- Paper: Use smooth, high-quality paper for detailed work.
- Fine Liners or Ink Pens: For outlining and adding definition.
- Colored Pencils or Watercolors: To bring your flowers to life with colors.
2. Understanding Flower Anatomy
To draw realistic flowers, it’s important to understand their basic structure. Most flowers consist of:
- Petals – The colorful, outer parts of the flower.
- Stem – The supporting structure.
- Leaves – Attached to the stem, often with visible veins.
- Stamen/Pistil – The reproductive parts in the center (for realistic drawings).
Step-by-Step Guide to Drawing Flowers
Step 1: Sketch Basic Shapes
Start by drawing simple geometric shapes like circles and ovals to define the flower’s structure. These shapes act as guides for positioning petals and leaves.
Step 2: Outline the Petals
- Draw petals around your initial guide shapes.
- Vary the sizes and angles to create a natural look.
- Use light strokes to keep it flexible for corrections.
Step 3: Add Details and Textures
- Draw fine lines on petals to indicate texture.
- Use curved strokes for a soft, realistic effect.
- Pay attention to the direction and layering of petals.
Step 4: Draw the Stem and Leaves
- Add a slightly curved stem for a natural appearance.
- Draw leaves attached to the stem, considering their shape and vein structure.
Step 5: Enhance with Shading and Outlining
- Use shading techniques like hatching and cross-hatching to add depth.
- Darken areas where petals overlap to create dimension.
- Outline with a fine liner for a defined look.
Different Types of Flowers to Draw
1. How to Draw a Rose
- Start with a spiral for the center.
- Add curved, overlapping petals outward.
- Draw a long, curved stem with thorns and leaves.
- Use shading to highlight petal folds.
2. How to Draw a Sunflower
- Draw a large circle for the center.
- Add long, slightly pointed petals around it.
- Fill the center with tiny dots for texture.
- Sketch a thick stem with broad leaves.
3. How to Draw a Tulip
- Begin with an oval for the bloom.
- Draw three upward-facing petals.
- Add a slender stem and long, pointed leaves.
Pro Tips for Improving Your Flower Drawings
- Study Real Flowers: Observe their natural curves and patterns.
- Experiment with Different Styles: Try sketching, inking, or watercoloring.
- Practice Consistently: Regular drawing helps refine skills over time.
- Use References: Photos and real-life flowers enhance accuracy.
Conclusion
Drawing flowers is a fun and fulfilling skill that enhances artistic expression. By following these step-by-step techniques, you can create stunning floral illustrations with ease. So grab your sketchbook and start practicing today!
What flower will you draw first? Let us know in the comments or share your artwork!
